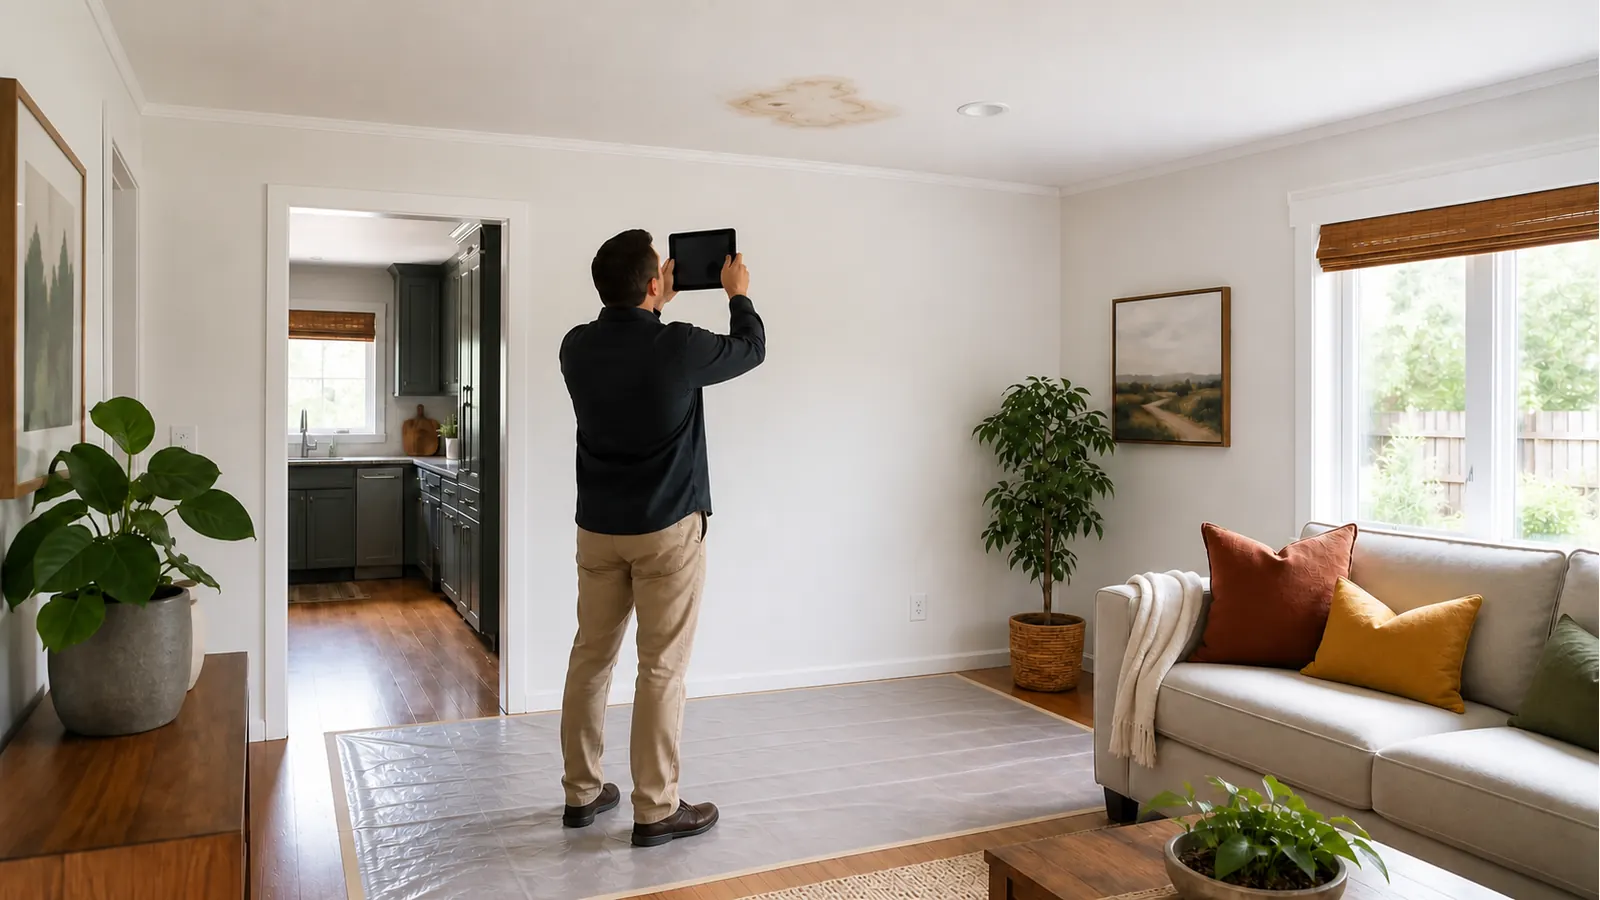
Guidance and San José requirements checked August 9, 2026. The article separates source diagnosis from drywall disposition. Neither can be decided from a photograph alone.
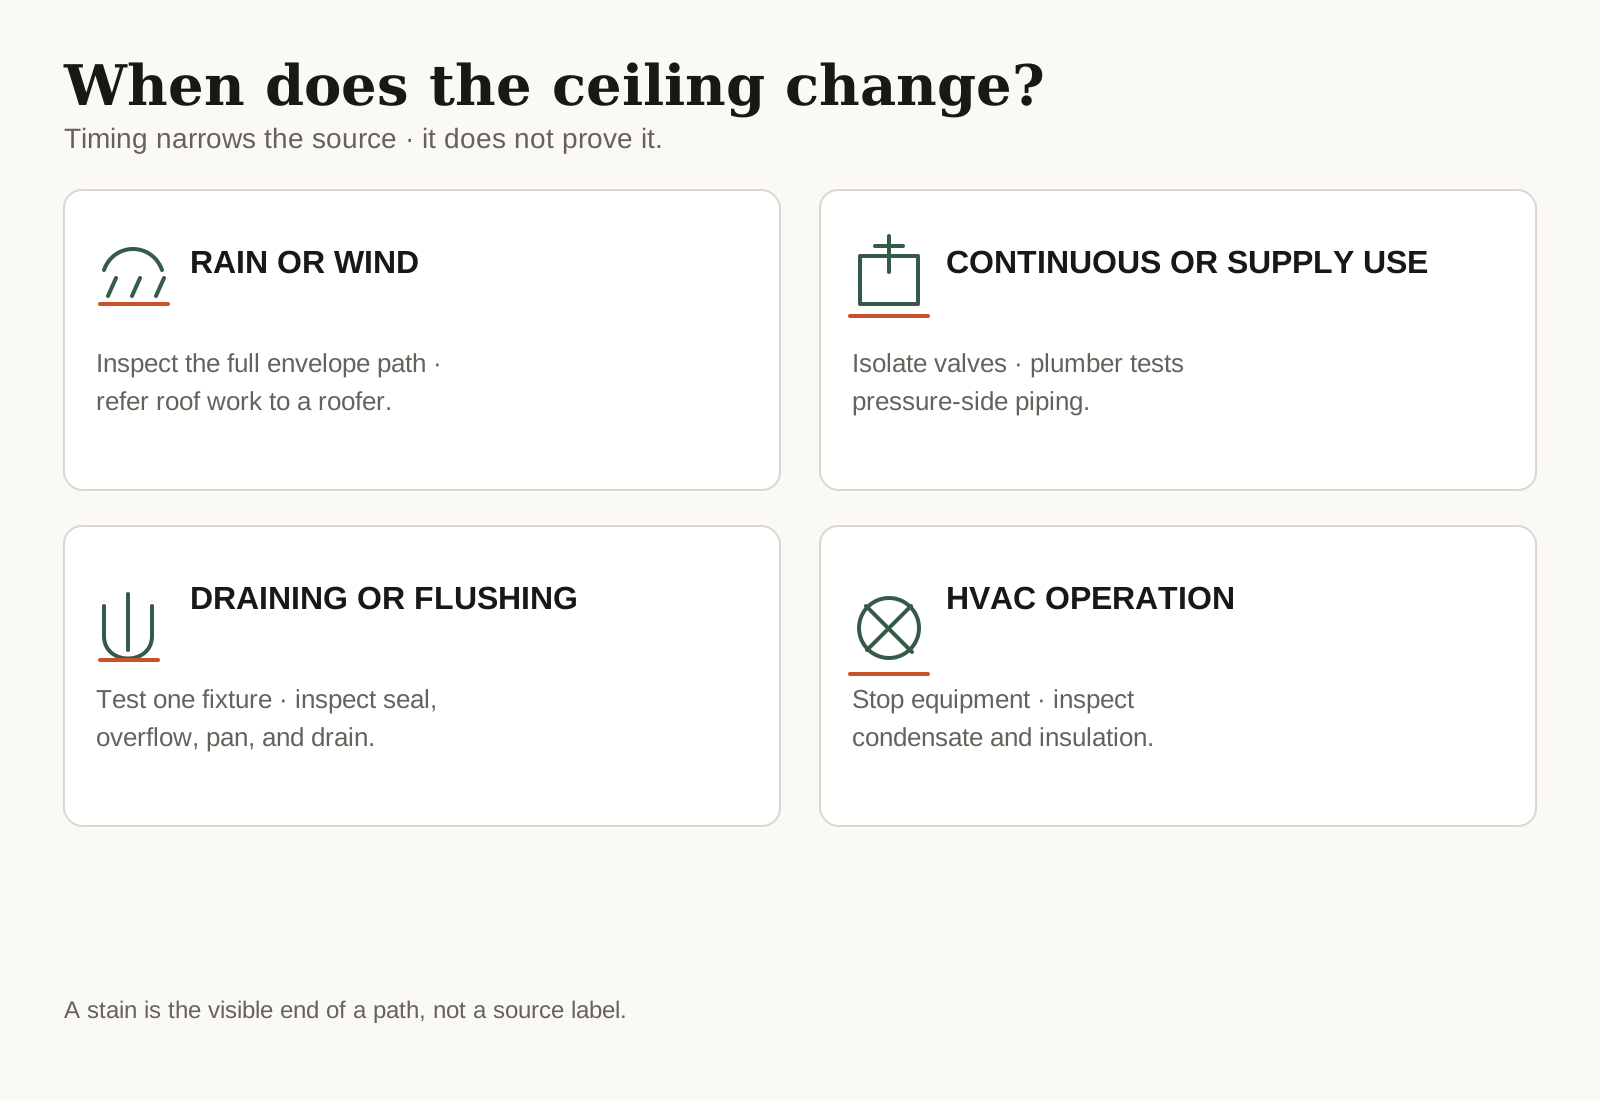
| When the stain changes | Sources to investigate first | Evidence that matters |
|---|---|---|
| During or after rain | Building-envelope path | Wind direction, exterior openings, attic route, wall transitions, penetrations, and flashing. Esquives does not offer roofing. |
| While an upstairs supply fixture is used, or continuously | Pressurized plumbing | Local valve isolation, supply connections, meter behavior, piping route, and post-repair test. |
| Only while a tub, shower, sink, toilet, or appliance drains | Fixture or drain path | Controlled fixture-by-fixture testing, seals, overflow, drain joint, pan, hose, and branch route. |
| With cooling or heating operation | HVAC or condensation | Condensate drain and pan, coil area, duct insulation, equipment cycle, and surrounding humidity. |
| No clear timing; old ring remains unchanged | Verify before cosmetic work | Dryness, source-repair history, attic or cavity condition, insulation, fasteners, seam integrity, and repeat observation. |
Start with safety and source control
A ceiling is different from a wall because saturated finish and insulation are overhead. Water can also reach lights, fans, alarms, boxes, and wiring before it becomes visible. Treat the space beneath an active or distorted ceiling as a potential falling-material and electrical zone, not as a convenient place to inspect.
- Stop the correlated activity. Stop the shower, tub, sink, toilet, washer, dishwasher, or HVAC system that was operating when the drip appeared. Do not repeat the event until the area has been made safe and the test is controlled.
- Isolate a reachable water source. Use a fixture shutoff or the building main only when it can be reached from a dry, stable path. If you cannot do that safely, call a plumber, utility, or emergency responder.
- Clear the area below. Move people, pets, and movable belongings from the room without walking under a bulge. Do not move a large object if doing so places anyone below damaged finish.
- Keep electricity separate. Do not touch or operate a wet ceiling fixture. If water reached electrical equipment, a qualified electrician should evaluate it before return to service. Do not enter water to reach a panel.
- Record the first conditions. Photograph from a safe position. Note the time, weather, fixture use, HVAC cycle, sounds, odors, and the change after each system was stopped.
A container can catch a minor drip only when it can be placed from outside the overhead hazard and no electrical or contamination concern exists. It is temporary containment, not a source repair. The lack of a new drip after a bucket is placed does not show that concealed materials are dry.
Trace the event, not the color of the stain
Brown rings, peeling paint, soft texture, and damp seams describe what water did to a finish. They do not identify which system failed. Water can cross the top of drywall, follow a joist, run along a pipe, move through insulation, or emerge at a light opening. Investigation works best when one candidate source is tested at a time.
Rain path
When the ceiling responds to rain, record whether wind was driving from a particular side and whether the stain begins during the storm or hours later. An attic inspection may reveal staining on framing or insulation, but even that mark may be downstream of the entry. Exterior walls, windows, vents, ducts, and other penetrations deserve attention alongside the roof. Refer actual roof investigation to a roofing professional because Esquives does not advertise roofing.
Supply path
A pressurized pipe or connector can leak whether a drain is in use. A plumber can isolate hot and cold branches, inspect accessible connections, and test the completed repair. A source that stops when one fixture valve closes is strong evidence, but the exact failure still must be exposed or otherwise verified.
Drain and fixture path
A drain, overflow, shower enclosure, pan, toilet seal, or appliance discharge often leaks only during a particular event. Do not run every fixture at once. A controlled test starts with dry baseline conditions, introduces one source, observes the ceiling and accessible cavity, then stops before moving to the next. This protects the assembly and produces useful evidence.
HVAC path
Air-conditioning condensate can come from a blocked drain, pan, connection, coil area, pump, or sweating uninsulated surface. The water may look clean, but appearance does not classify what it crossed. Record whether the stain tracks system runtime and call an HVAC professional for equipment-side diagnosis.
What a ceiling investigation should document
The best opening is not automatically at the darkest ring. Before cutting, the team should study the floor or attic above, nearby plumbing and HVAC routes, framing direction, lights, fans, alarms, and rated or sound-control duties. The age of the building and prior finishes can also change dust and hazardous-material precautions.
- First-discovery record: photographs, time, active drip or dry mark, dimensions, finish movement, fixture or weather event, and actions already taken.
- Source record: each candidate tested, result, failed component or entry detail, repair performed, and post-repair confirmation.
- Ceiling map: face condition, seams, fasteners, openings, readings or comparisons, attic observations, insulation condition, framing, and adjacent walls or floors.
- Hazard record: water source uncertainty, electrical exposure, ceiling stability, suspected mold, and hazardous-material review before disturbance.
- Assembly record: board type and layers, framing spacing, insulation, fire or sound rating, texture, light or fan penetrations, and paint boundaries.
Thermal imaging can help identify surface-temperature differences, not see through the ceiling. A moisture meter can support mapping, but one unexplained number does not prove the board or cavity is dry. Instrument type, material, calibration, comparison area, access side, and repeat readings determine what the observation means.
Can ceiling drywall dry, or must it be replaced?
There is no safe answer from color alone. EPA's current clean-water table says wallboard may be dried in place if there is no obvious swelling and seams remain intact, with cavity ventilation if possible. Otherwise, it says to remove, discard, and replace the board. A ceiling deserves added caution because sag, attachment, overhead insulation, and falling material affect safe access.
The same EPA table directs discard and replacement of fiberglass and cellulose insulation after clean-water damage. If wet insulation rests above intact-looking board, the ceiling may need a controlled opening so the insulation can be removed and the framing and back face can be examined. A cosmetic face does not tell the entire assembly story.
EPA's 24–48-hour language is a rapid-response and mold-prevention target. Its own note says mold may occur within that window and may not occur afterward. Therefore, elapsed time changes urgency but does not operate as a universal cut line, clearance, or guarantee.
Known or suspected sewage, outdoor floodwater, or chemical or biological contamination is outside the clean-water table. Do not aim fans into the ceiling until the source is classified enough to choose a response. Visible or suspected mold also shifts the job from ordinary drying to a defined remediation plan.
Replace damaged board, not just stained paint
Swelling, sag, a soft or crumbly core, separated paper, failed seams, rusting fasteners, delamination, and physical damage are reasons to move beyond stain blocking. The removal boundary should reach sound support and expose what must be inspected. It should not be based on a universal number of inches.
Restore the actual ceiling assembly
A repair may need more than drywall, tape, texture, and paint. It may need insulation, resilient channels, sound sealant, fire-rated layers, penetration treatment, vapor or air-control details, framing repair, and fixture support. Identify the assembly before removal so the replacement does not erase its performance.
Build the repair scope in the right order
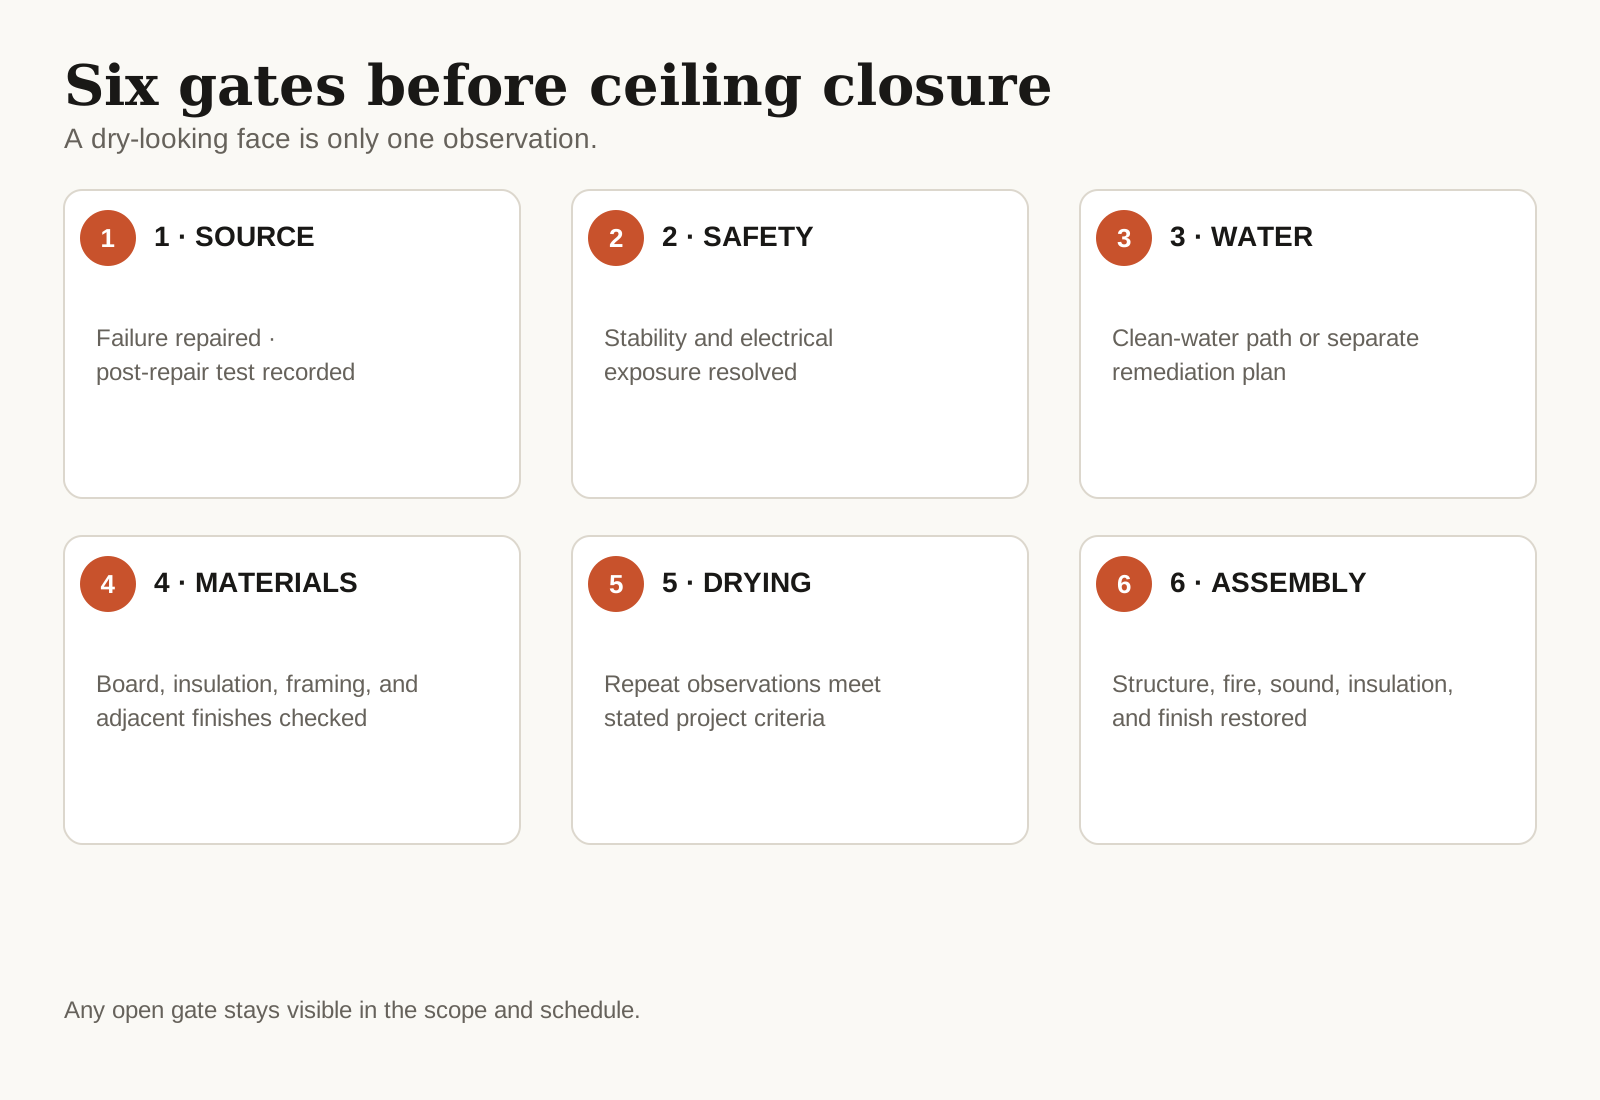
- Emergency protection and source isolation. Define who stops active flow, protects occupied space, and controls electrical and falling-material hazards.
- Source diagnosis and repair. Name the failed component or entry path, repair, and proof test. “Leak fixed” without a described source is not a complete record.
- Selective access and removal. Define protection, containment, hazardous-material procedure, insulation handling, and the boundary needed to reach sound support and concealed conditions.
- Drying and verification. State the equipment, monitoring responsibility, comparison method, recheck frequency, and project-specific completion criteria.
- Trade and inspection coordination. Identify plumbing, HVAC, electrical, structural, fire-rated, or other permitted work and who keeps it exposed for inspection.
- Reconstruction and finish matching. Restore every layer, then define texture sample, primer or stain-blocking system, paint boundaries, fixture reinstallation, protection removal, and closeout photographs.
In San José, Bulletin #201 lists minor leak repairs and ordinary sheetrock or joint taping among exemptions. It also states that replacement of a concealed trap, drainpipe, or vent pipe is new work requiring a plumbing permit, and fire-rated sheetrock installation requires a permit. Plumbing, electrical, mechanical, structural, and rated work must be checked against the exact scope. Other Bay Area jurisdictions can differ.
Prove the source repair before closing the ceiling
A repair record should answer more than “the leak stopped.” It should name the failed component or entry detail, show what was changed, and describe the test used afterward. A supply-line repair might be observed under normal pressure. A drain or overflow repair may need a controlled fixture test. An HVAC condensate repair should be checked during the relevant operating condition. An exterior-envelope repair may need a test appropriate to that assembly and the responsible specialist's procedure.
Do not combine several tests merely to save time. If a shower, toilet, sink, and air conditioner all operate while someone watches the ceiling, a dry result does not isolate which repair held. A wet result does not identify which system failed. Begin from a documented baseline, introduce one condition, observe the accessible route and affected area, stop, and record the result before moving to another condition.
The test should not add uncontrolled water to a damaged assembly. The responsible trade decides whether testing is safe, how much access is required, and which surfaces or connections must remain visible. If a permitted repair needs inspection, do not cover it merely because an informal test looked successful.
Source verification and drying verification are different records. A repaired pipe can pass its test while wood, insulation, or gypsum remains wet. Conversely, a dry surface does not show that an intermittent rain or condensate path has been corrected. Keep both gates open in the schedule until each has evidence.
Compare ceiling estimates by responsibility
A low patch price may exclude the leak investigation, safe access, insulation, drying, electrical work, fixture removal, texture matching, full-plane painting, permit, and inspection. Ask each bidder to mark included, excluded, or allowance for those items. Also ask who decides the ceiling is ready to close and what record supports that decision.
A proper proposal states its assumptions beside the work. For example: the source has been repaired and tested; water is not contaminated; the ceiling is not a rated assembly; framing is sound; no regulated material is encountered; paint matching ends at named boundaries; and work occurs in ordinary hours. If an assumption fails, the change process should be visible rather than improvised.
This guide gives no universal price or duration because the source, access, ceiling height, insulation, board layers, electrical components, contamination, drying, hazardous-material precautions, permitting, texture, and paint boundaries all affect the job.
Mistakes that create a second repair
- Painting a dry-looking stain before source verification.
- Testing multiple upstairs fixtures at the same time.
- Standing beneath a bulge to puncture or probe it.
- Assuming a dry surface proves dry insulation or framing.
- Running fans before deciding whether water is clean enough for that approach.
- Replacing board without recording ceiling layers, framing, fire, sound, and insulation duties.
- Closing permitted work before required inspection.
- Accepting one meter number without the instrument, material, comparison, and repeated observation.
Common ceiling-leak questions
Can I paint over an old ceiling stain?
Only after the source history and present dryness are credible, the board and seams remain sound, and the cavity does not need inspection. Primer and paint can address appearance; they cannot repair a source, dry insulation, or restore damaged board.
Does a ring mean the leak is still active?
Not necessarily. A ring can remain after drying, but a remote view cannot prove inactivity. Compare dated photographs, correlate with weather and fixture use, inspect the space above when safe, and verify the source before cosmetic repair.
Should every stained ceiling section be removed?
No universal rule supports that. Board condition, seams, attachment, source, contamination, insulation, cavity access, mold evidence, and the complete assembly determine the scope. Sagging, swelling, delamination, or loss of integrity points toward replacement.
Can the drywall contractor find the plumbing leak?
A drywall contractor may expose the area, but the relevant plumber, HVAC specialist, envelope professional, or electrician should diagnose and document the system failure. Coordinate access so the finish opening supports the source test and later restoration.
What if the stain is below a bathroom?
That location narrows the candidates but does not identify one. Supply piping, fixture connections, drains, overflows, toilet seals, shower enclosure paths, pans, and incidental spills behave differently. Controlled one-at-a-time testing is more useful than guessing.
Sources and verification
Primary and standards-organization sources opened and checked August 9, 2026:
- U.S. EPA: moisture-control guidance, updated February 18, 2026
- U.S. EPA: Water Damage Cleanup and Mold Prevention, Table 1
- Electrical Safety Foundation International: Water-Damaged Electrical Equipment
- OSHA accident record: employee struck by a water-saturated collapsing ceiling
- Teledyne FLIR: thermal cameras show temperature patterns, not water through a ceiling
- Teledyne FLIR: moisture-meter types and comparative-reading limits
- ENERGY STAR: a plugged HVAC condensate drain can cause water damage
- City of San José Bulletin #201: permit requirements and exemptions
The OSHA record documents one incident; it is not used to estimate how likely a residential ceiling is to fail. ESFI is a safety nonprofit, not the local authority having jurisdiction.
Scope: General education, not an emergency plan, structural evaluation, electrical authorization, environmental clearance, leak diagnosis, insurance interpretation, or permit decision. Do not enter or work below an unstable or electrically exposed ceiling. Site conditions and the authority having jurisdiction control.